How to Match a Home Addition to an Existing Charlotte House
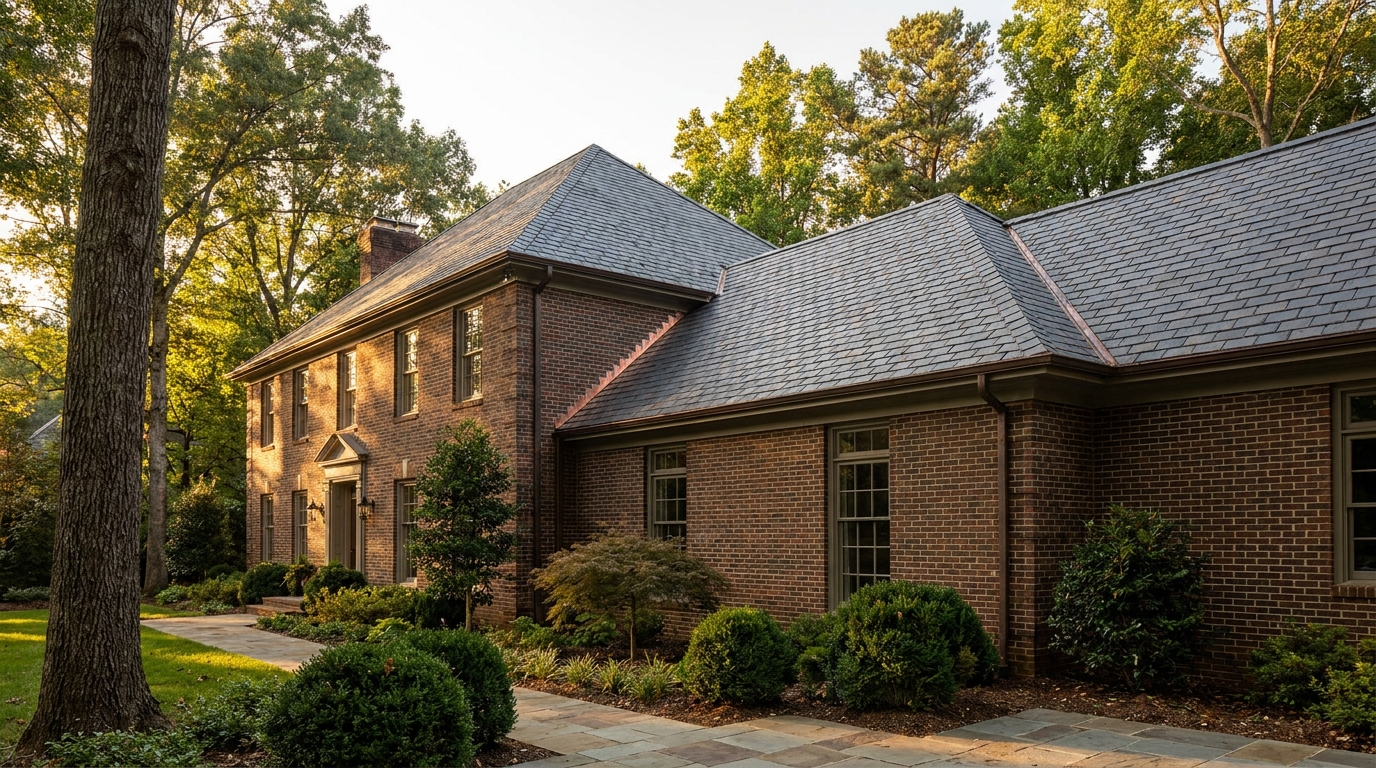
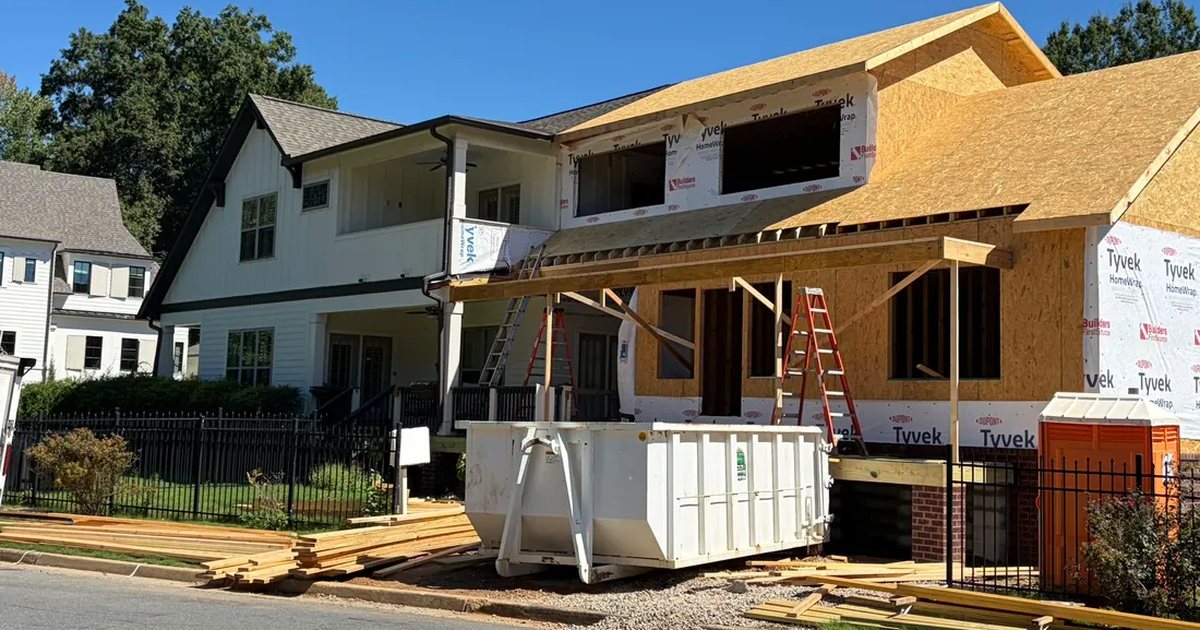
To match a home addition Charlotte families will still recognize as the original house, treat the new volume as a continuation of the structure already on the lot, not as a second building parked beside it. That means lining floor levels, carrying roof pitch and eave lines, matching brick size, color, mortar, and millwork, keeping window rhythm honest, and detailing the structural join so water and movement are handled at the wall, not hoped away. Most exterior claddings leak some rain, which is why a continuous drainage plane and correctly lapped flashing at the addition-to-house joint matter as much as the brick you can see.[1][2] Permits, setbacks, and living on site during construction are real issues; we covered those in a separate piece. This one is the craft of belonging.
Start with the house already on the lot
We are a building company. We build new homes, and we also add on to houses families already love in the South Charlotte metro. The first drawings for an addition should start with a measured survey of the existing house: floor elevations, joist depths and direction, roof pitch and overhang, eave and rake profiles, brick module and mortar joint, window sizes and head heights, and the condition of the wall we will open.
That survey is not decoration. An older Charlotte house may have floors that have moved a fraction of an inch over decades, a roof that was reroofed and raised slightly at the fascia, or brick that no mill still makes in the original size. Matching work begins by recording those facts.
If the house has genuine historic character, the Secretary of the Interior’s Standards for Rehabilitation are a useful craft check even when a project is not a tax-credit case. Standard 9 asks that new work be compatible with the existing materials, features, size, scale, proportion, and massing, and that it not destroy the character-defining fabric of the original.[3] NPS also asks that new work remain readable as new while still taking its cues from the old.[4] For most of the houses we add onto, the owner’s goal is simpler: the addition should read as if it belonged. Compatibility of pitch, brick, millwork, and window rhythm is how that happens.
Zoning, setbacks, and Mecklenburg County plan review still apply. Residential plan review covers new construction, remodels, and additions for one- and two-family dwellings and townhomes three stories or fewer.[5] Most residential additions require plan review, and load-bearing work needs a permit even when the dollar amount is modest.[6] Those process questions belong in our earlier guide on what to know before adding on to a home in Charlotte. The rest of this article stays on the join.
Floor levels and the structural join
The first thing a body notices inside a poorly matched addition is a floor that does not line up. A ridge in the hardwood, a ramp disguised as a threshold, or a step that was never drawn as a step is usually a foundation and framing problem, not a finish problem.
A new wing sits on new footings. The existing house has already settled under its own load. The soils under a Charlotte lot are not uniform from street to creek, and USDA NRCS treats Web Soil Survey as the official mapped source while stating that on-site investigation is needed for certain engineering applications.[7] We do not guess at that. A geotechnical look at the addition footprint, and an engineer’s foundation design that accounts for the existing house, keep the new floor from chasing the old one after occupancy.
How the floors meet is a framing decision. Options include hanging new joists from a ledger or steel, building an independent floor that meets the existing one at a planned joint, or opening the existing floor so new sheathing can span both structures. APA, the Engineered Wood Association, recommends a glued floor system (adhesive plus nails) because floors that are not installed that way can squeak, buckle, and produce nail pops.[8] That matters at the join, where two framing systems and two moisture histories meet. Engineered I-joists and wood structural panels also give us consistent depths and stiffness when we need to hit an existing finished floor elevation.[9]
Sometimes the honest answer is a single, well-detailed step. If the existing first floor sits lower than a code-compliant new floor over a crawl space, forcing a flush condition can steal headroom or bury the existing sill. A step that is designed, lighted, and finished as architecture is better than a floor that will crack the tile in year three. We would rather tell you that in design than discover it when the hardwood is on the truck.
The wall we open is a structural event. Bearing walls, headers, and the existing roof all have to be understood before we cut. Temporary shoring, a new beam if the opening is wide, and a load path from the new roof down to the new foundation are not extras. They are the join.
Roof pitch, eave lines, and the flashing at the join
From the street, an addition is judged first by its roof. If the new pitch is steeper or shallower than the house, or if the fascia sits a course higher than the existing eave, the wing will look grafted on no matter how careful the brick is.
Matching pitch is a geometry problem, not a style preference. We take the existing roof pitch off the house, not off a catalog. We carry the overhang and the soffit depth, and we line the fascia and rake boards with the existing millwork. Where the addition is a side wing, a hip or a valley that continues the original roof plane will almost always look more settled than a lower shed tacked against the wall. Where a lower roof is the right move (a porch, a breakfast room, a garage), that eave still has to meet the existing wall with the same discipline as a new-house roof-to-wall condition.
That meeting is where additions leak. Charlotte Douglas International Airport’s 1991-2020 climate normal is 43.60 inches of precipitation a year, with measurable rain on about 112 days.[10] August is the wettest month in that record (4.35 inches). A roof-wall intersection on an addition concentrates that water into a gutter, or, if the flashing is wrong, into the wall.
The U.S. Department of Energy’s Building America Solution Center is blunt: install step and kick-out flashing at all roof-wall intersections, extend step flashing at least 4 inches up the wall from the roof deck and at least 4 inches out along the roof, and integrate it with the drainage plane above so house wrap laps over the flashing, not under it.[2] Kick-out flashing at the eave turns water into the gutter instead of down the siding. Siding should end at least 1 inch above the roof surface.[2] Brick veneer, fiber cement, and vinyl can hide a leak for years, which is why the flashing has to be right the day it is installed, not the day staining appears.[2]
On an existing house the work is more surgical. Building America describes the retrofit as removing siding and shingles at the intersection, repairing damaged sheathing, installing membrane, then kick-out and step flashing lapped to drain out, then siding back over the step flashing.[2] We treat that sequence as part of the addition, not as a punch-list item after the roofers leave.
Brick, mortar, and millwork
Brick is the finish most Charlotte owners notice first, and it is the finish that is easiest to get almost right and still wrong.
The Brick Industry Association draws a useful line between matching brick and replacement brick. Matching brick are units with similar aesthetic properties (color, texture, and size) to the existing wall. They may or may not share the original brick’s physical properties. Replacement brick, by contrast, will be bonded into the existing masonry and should be closer in both look and physical behavior.[11] For an addition, BIA’s preferred detail is often an expansion or separation joint between new and existing brickwork, so the new field does not have to be toothed into the old.[11] That joint is not a failure of matching. It is how two masonry walls of different ages are allowed to move without cracking.
A sample panel is not optional. BIA recommends comparing color, texture, and size against the original wall, cleaning both the existing brickwork and the sample before judging, and remembering that slight changes in mortar color can make a dramatic difference in how the wall reads.[11] Mortar is often more critical to performance than the brick itself. The wrong mortar can cause spalling and cracking in the existing masonry.[11]
New brick also expands. Fired clay takes on moisture after it leaves the kiln (irreversible moisture expansion). Existing brick has already done most of that growing. New brick has not. BIA notes that stocking new brick for two to three months before it goes in a wall, and isolating large new fields with expansion joints, are the usual ways to keep the new work from stressing the old.[11]
Those expansion joints have rules. BIA Technical Note 18A recommends vertical expansion joints in brick veneer at no more than 25 feet on center where the wall has no openings, and closer where there are many openings. Place them at corners, offsets, setbacks, wall intersections, changes in wall height, and where the support of the veneer changes, which is exactly the condition at an addition.[12] Horizontal joints belong immediately below shelf angles. Bond breaks (building paper, flashing, or polyethylene) separate brickwork from dissimilar materials, foundations, and slabs.[12]
If we are carrying brick onto an existing wall that was not brick, or extending veneer around a corner onto older framing, BIA Technical Note 28A is the working document. Anchored brick veneer is not a load-bearing wall. It needs a minimum nominal 1-inch air space, a water-resistive barrier, weeps, and support on an existing or extended footing or on a corrosion-resistant angle fastened to the foundation. Anchors (ties) go into the structural framing, not into the old cladding.[13] Brick is a reservoir cladding. A clear, drained gap keeps absorbed rain from bridging into the wood wall.[1]
Millwork is the quieter half of the match. Rake boards, fascia, soffit returns, window casing, brickmould, and the profile of a porch beam: if those profiles change at the addition, the eye will find the joint even when the brick is close. We pull existing profiles, or have them run to match, rather than substituting a stock casing that is “close enough.” Close enough is how additions look like additions.
Window rhythm
Windows are a pattern, not a product. Head heights, mullion spacing, the proportion of glass to wall, the presence or absence of divided lites, and the alignment of openings from floor to floor are what make a wing belong to a Myers Park or Weddington house.
NPS guidance on additions, used here as a proportion check rather than a historic-district brief, includes basing the size, rhythm, and alignment of new openings on those of the existing building.[4] That holds on a 1998 Ballantyne house as well as on a 1920s Myers Park one. A band of tall, thin units next to a house of nearly square double-hungs will not be saved by matching the brick.
Performance is a separate specification. ENERGY STAR requires that certified windows, doors, and skylights be independently tested, certified, and verified to National Fenestration Rating Council procedures.[14] The NFRC label reports U-factor (how well the unit insulates; lower is better) and solar heat gain coefficient (how much solar heat the glass admits).[14] ENERGY STAR criteria then vary by climate zone, because a window that is right for a heating climate is not automatically right for a mixed-humid Piedmont lot.[15] We specify units to the climate zone that applies to the address, and we still choose divided-lite patterns, frame colors, and exterior profiles that continue the house.
New glass in an old wall also has to be flashed. Pan flashing at the sill, jamb flashing, and head flashing integrated with the drainage plane are the same rules as on a new house, with the extra work of tying into an existing water-resistive barrier that may be building paper, house wrap, or nothing at all.[1]
Water management at the addition-to-house joint
If there is one place an addition fails after the photographs are taken, it is the joint. Two roofs, two walls, two foundations, and a hole cut in the original house: that is a water problem until it is detailed as a drainage problem.
EPA’s Moisture Control Guidance treats flashing as a system, not a product. Roof intersections with adjoining taller walls need through-flashing so the lower roof cannot dump water into the higher wall. Veneers and roof membranes need flashing and counter-flashing at material changes. Failures come from poor sequencing, reverse laps, and missing coordination between trades.[16] Building America makes the same point in plainer language: most exterior cladding systems leak, a barrier-wall of caulk will not last as long as the cladding, and a drainage plane behind the cladding, lapped over flashings at windows, the base of walls, and roof-wall intersections, is the practical way to get water out.[1]
At an addition that means a water-resistive barrier on the new walls that laps over base flashing and over the step flashing where a roof meets a wall; kick-out flashing where a lower roof dies into the existing house; through-wall flashing and weeps where brick meets a roof or a change in plane; a clear 1-inch air space behind anchored brick, kept free of mortar droppings; and gutters that do not dump the new roof onto the old foundation. Building America notes that the IRC requires collected roof water to discharge at least 5 feet from foundation walls where expansive or collapsible soils are known, and that lot grading should throw water away from the house.[2]
The joint is also an air and vapor joint. New conditioned space against old attics, crawl spaces, and wall cavities will move moisture toward the colder side of the assembly. We close the new thermal envelope at the opening, rather than hoping the original house’s insulation line continues through a cut we just made. None of this is visible in a twilight photograph. It is why matching an addition is construction, not decoration.
Practical takeaways
- Survey the existing house first: floor elevations, roof pitch and eaves, brick module and mortar, window heads, and millwork profiles. Draw the addition from those measurements.
- Treat the new foundation as a neighbor to the old one. Use site-specific soils information and an engineer at the join.[7]
- Line finished floors where you can. Where you cannot, design the step. Glue-and-nail the new floor system so the join does not become a squeak.[8]
- Match roof pitch and eave lines. Where a roof meets a wall, install step flashing at least 4 inches up and 4 inches out, kick-out flashing at the eave, and house wrap lapped over the flashing.[2]
- Select matching brick by sample panel. Isolate new brickwork from old with an expansion or separation joint, and space vertical expansion joints as BIA recommends (no more than 25 feet on center in a blank veneer wall, closer with openings, and at changes in support).[11][12]
- Carry millwork profiles through the addition. Casing, fascia, rake, and soffit are part of the match.
- Keep window rhythm, head heights, and lite patterns consistent with the house. Specify NFRC-rated performance for the climate zone, and flash every opening into the drainage plane.[14][15][1]
- Assume cladding leaks. Build a drained cavity and a continuous drainage plane through the joint, and do not reverse-lap flashing.[1][16]
- File the addition for plan review with Mecklenburg County Code Enforcement (or the town that has jurisdiction). Load-bearing work needs a permit.[5][6]
- For permits, living on site, and setbacks, use our guide to adding on in Charlotte. This article is the matching work that happens after those questions are answered.
How we can help
Everett Custom Homes designs and builds additions as part of the same practice as our custom homes: one team, on site, responsible for the join. If you have a house in the South Charlotte metro that needs more room and you want the new work to belong to it, start a conversation with us. We will walk the house, measure what is actually there, and tell you honestly whether an addition can be matched, or whether the better project is a different one. You can also look through completed work to see how we have handled existing houses before.
Citations
- U.S. Department of Energy, Building America Solution Center, "Drainage Plane Behind Exterior Wall Cladding" (accessed 2026-09-16)
- U.S. Department of Energy, Building America Solution Center, "Step and Kick-Out Flashing at Roof-Wall Intersections" (2020-09-14)
- National Park Service, "The Secretary of the Interior's Standards for the Treatment of Historic Properties: Rehabilitation as a Treatment and Standards for Rehabilitation" (2024-02-01)
- National Park Service, "New Additions to Historic Buildings" (2024-06-06)
- Mecklenburg County Code Enforcement, "Residential Plan Review" (accessed 2026-09-16)
- Mecklenburg County Code Enforcement, "Permitting" (accessed 2026-09-16)
- USDA Natural Resources Conservation Service, "Web Soil Survey" (accessed 2026-09-16)
- APA - The Engineered Wood Association, "Builder Tips: Construct a Solid, Squeak-Free Floor System" (Q300, revised 2016-07-01)
- APA - The Engineered Wood Association, "Floor Systems" (accessed 2026-09-16)
- NOAA National Centers for Environmental Information, "U.S. Climate Normals 1991-2020, Charlotte Douglas AP, NC (USW00013881)" (generated 2026-09-16)
- Brick Industry Association, "Brick Brief: Replacement Brick" (2011-06)
- Brick Industry Association, "Technical Notes on Brick Construction 18A: Accommodating Expansion of Brickwork" (2019-05)
- Brick Industry Association, "Technical Notes on Brick Construction 28A: Adding Brick Veneer to Existing Construction" (2020-03)
- ENERGY STAR / U.S. EPA, "Independently Tested and Certified Energy Performance" (accessed 2026-09-16)
- ENERGY STAR / U.S. EPA, "What makes it ENERGY STAR?" (accessed 2026-09-16)
- U.S. Environmental Protection Agency, "Moisture Control Guidance for Building Design, Construction and Maintenance" (2013)